Here's how I painted the Free Peoples from
The Battle of Five Armies, after prepping them as per
my earlier post.
I don't have a step-by-step guide to the characters, but I used the same paints and similar principles, albeit with a little more care and a few more highlights and fancy touches like Thranduil's gemstone.
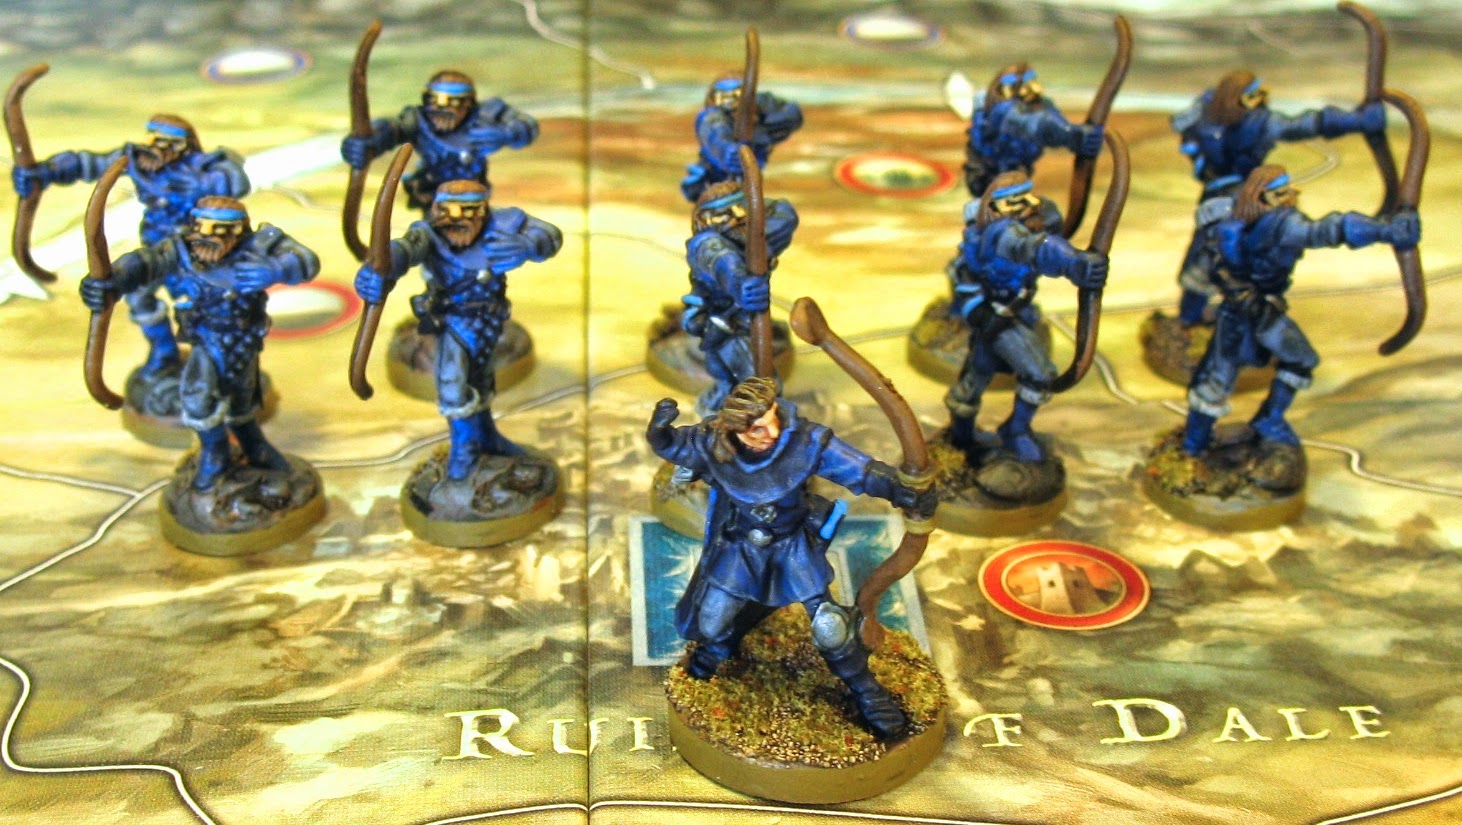
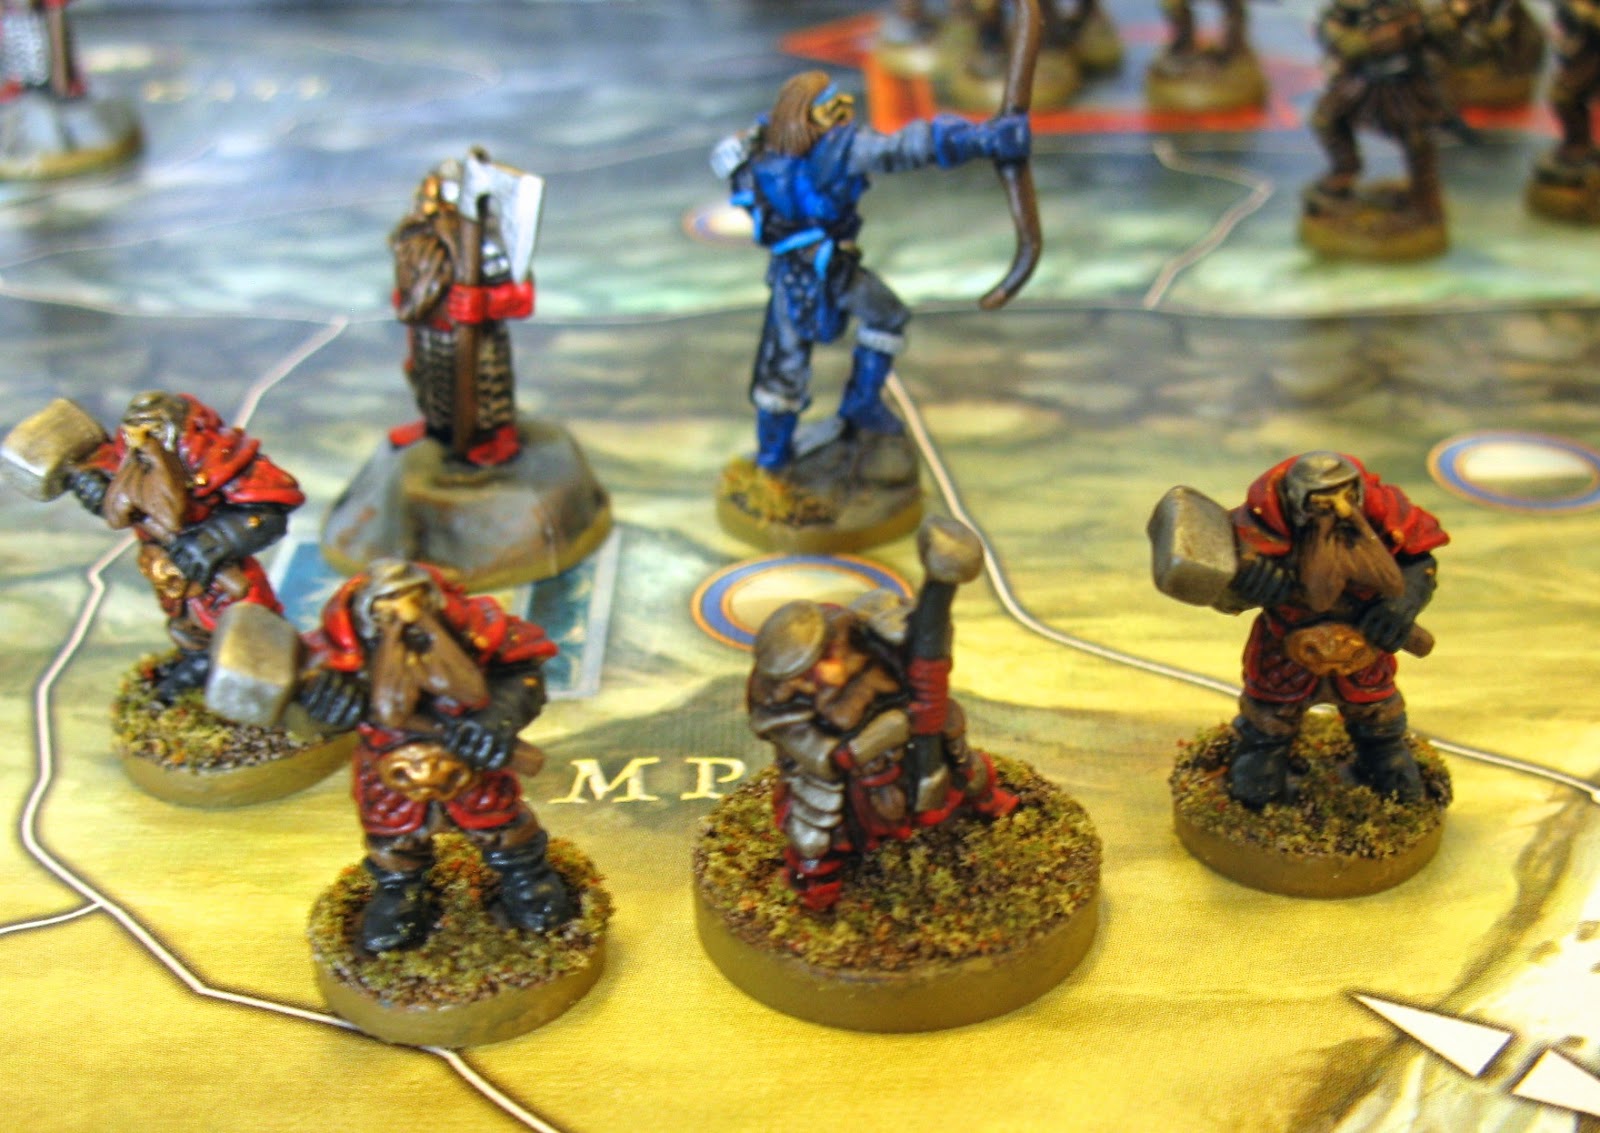
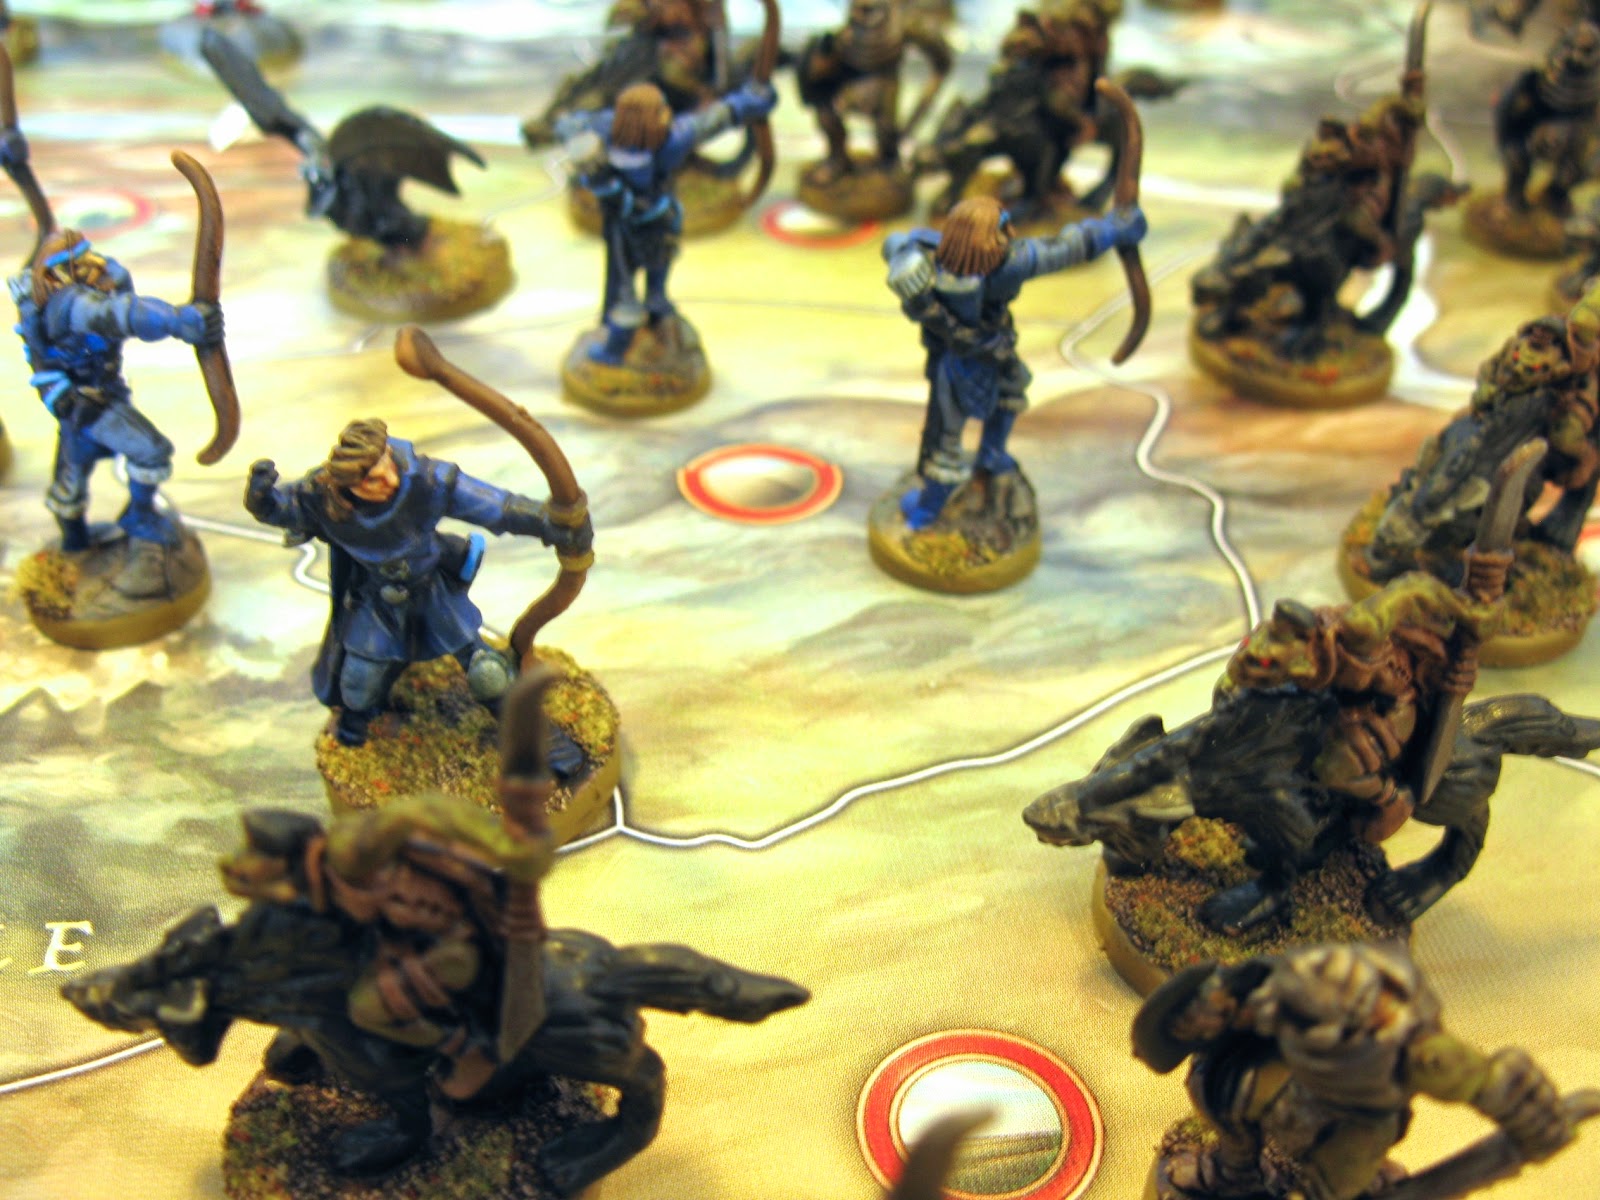
Bard and the Lake-Men
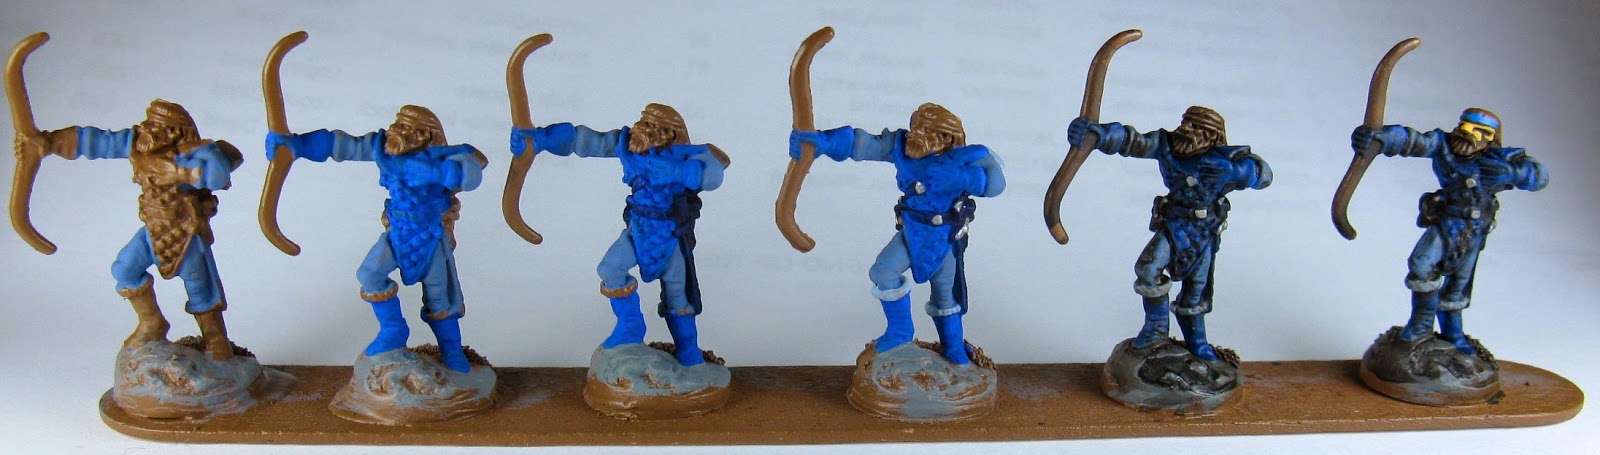 |
| Lake-Men |
- Blue-grey to leggings and sleeves
- Mid-blue to jerkin, boots, gloves
- Dark blue to belts, scabbard, quiver
- Metal to buckles, sword hilts. Pale grey to boot fur and arrow fletchings
- Black wash
- When dry, pick out the face with flesh, and add a light blue headband. I painted the wrappings on his quiver with the same colour (not shown)
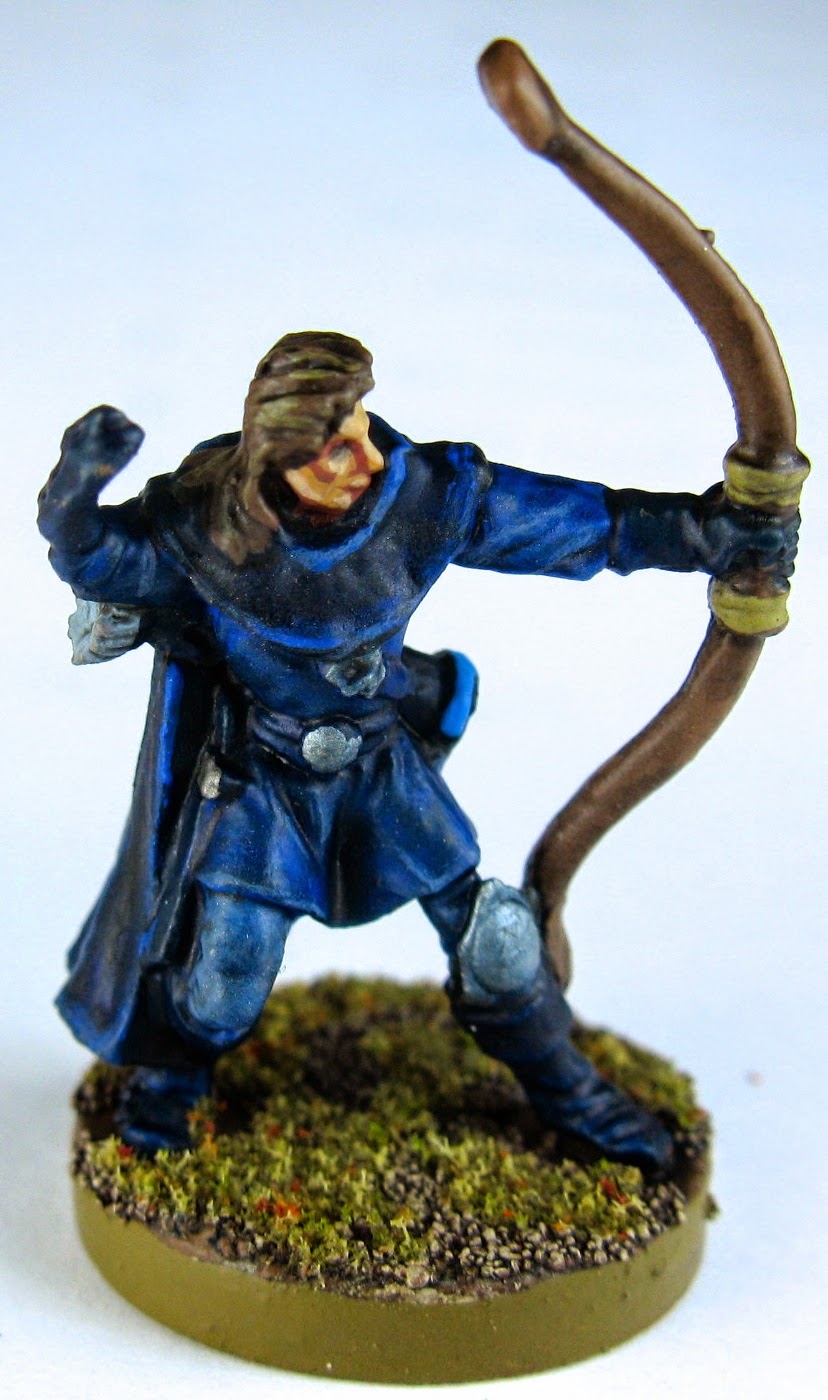 |
| Bard |
I painted Bard using the same colours, but in a more 'traditional' style with shading and highlighting. I gave a faint blue wash to his metalwork.
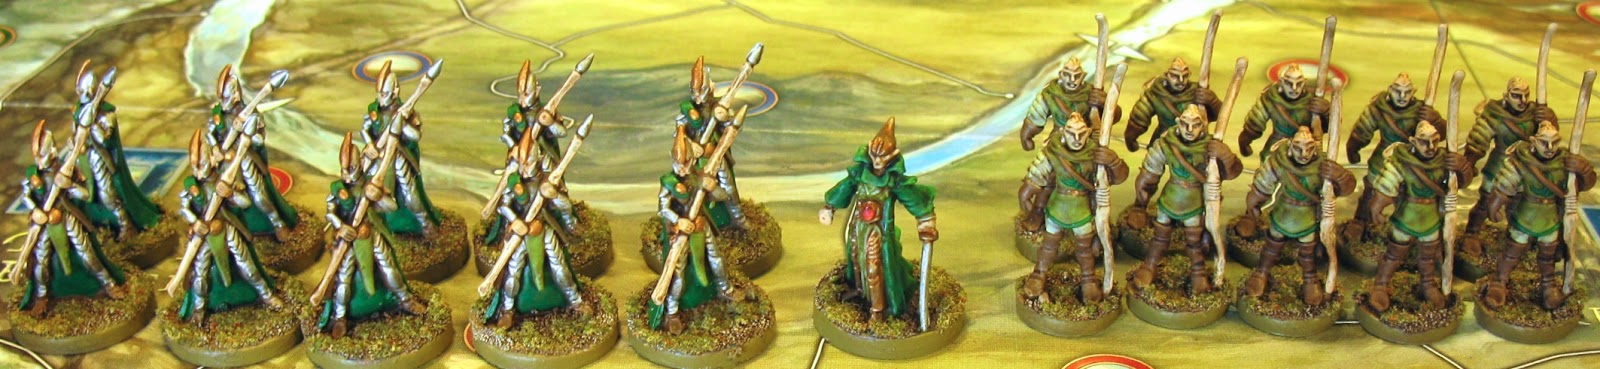
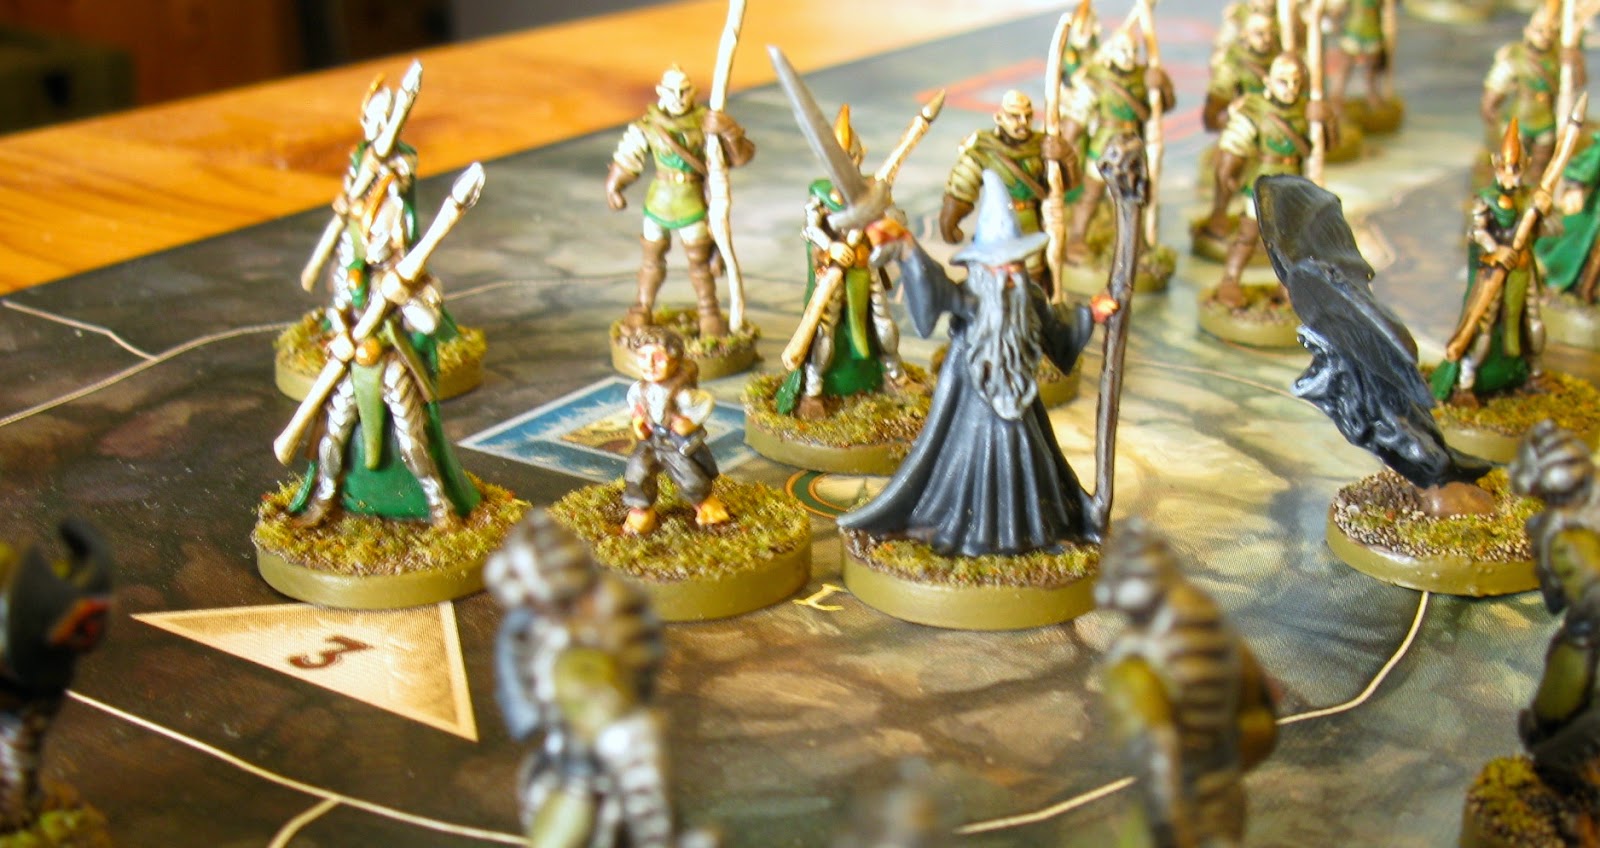
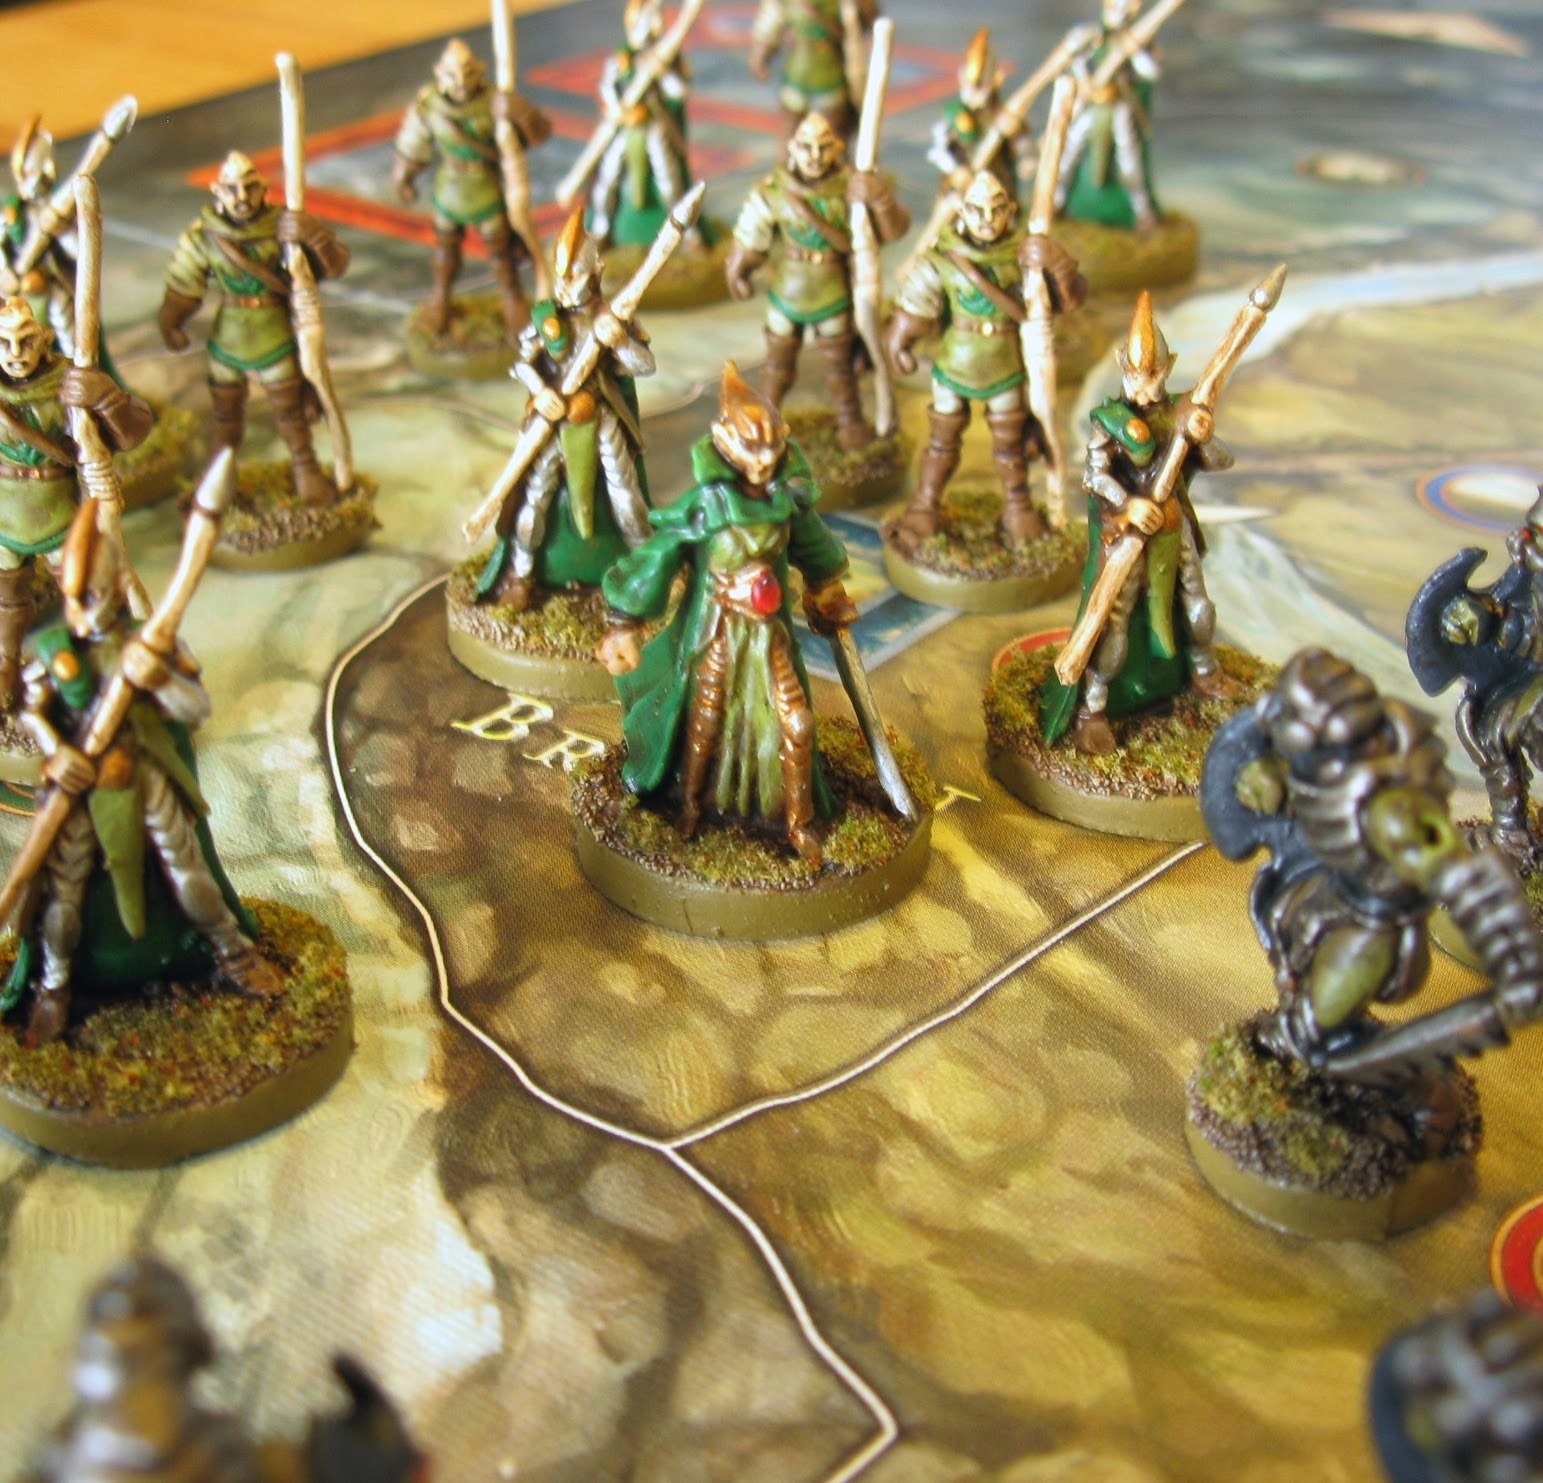
Elves and Thranduil
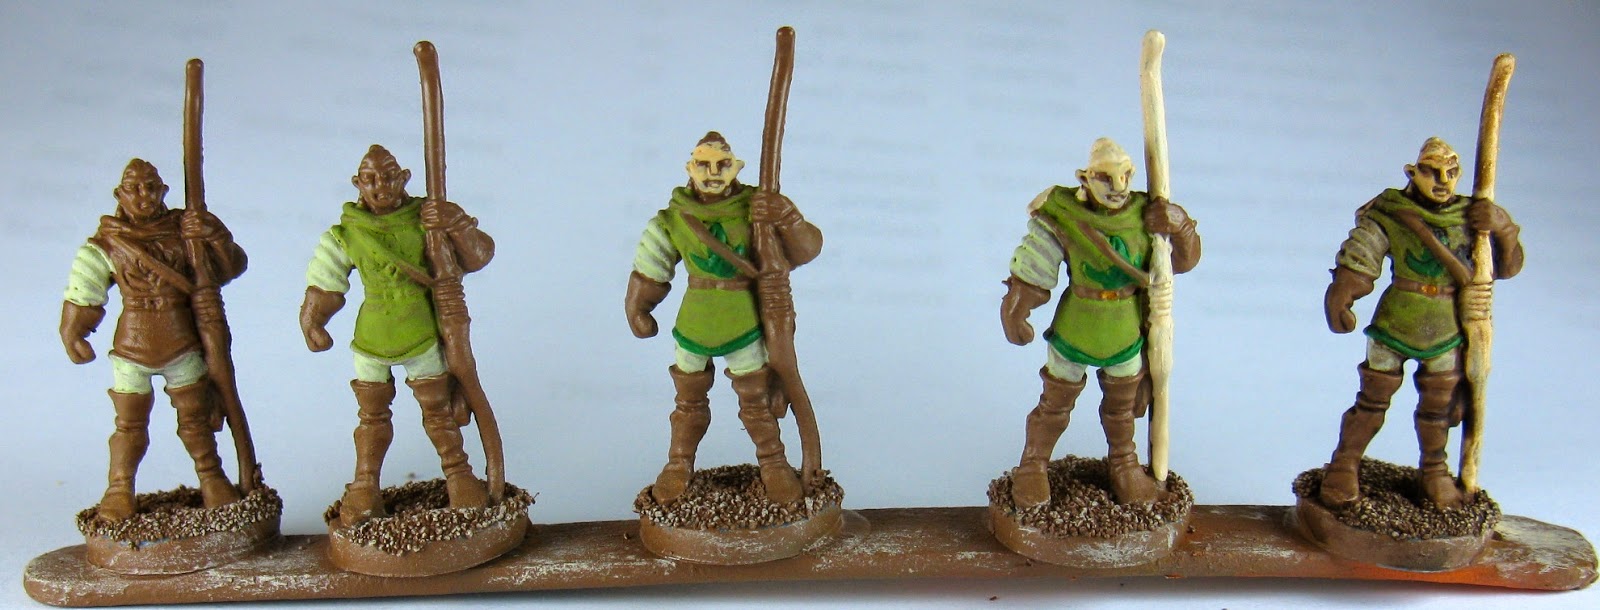 |
| Elven Archers |
- Pale green to leggings, sleeves
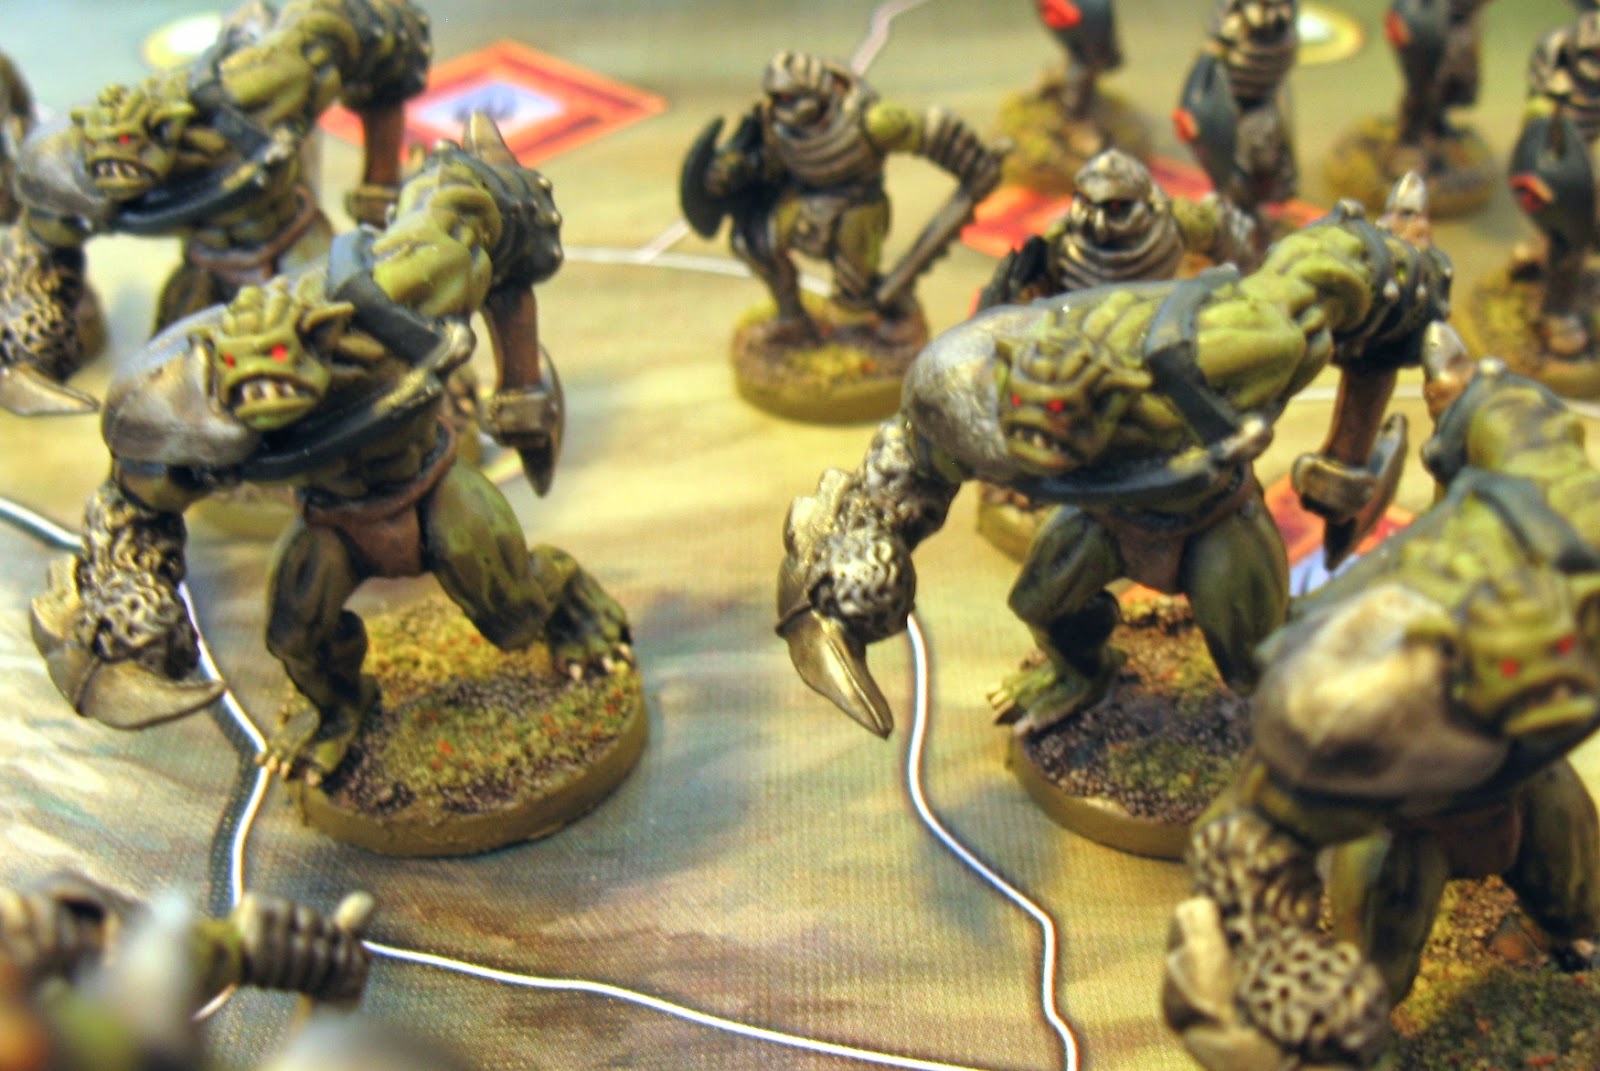
- Bright green to the jerkin (it's the same colour I used for the Orcs)
- Dark green details. Flesh to the face. Brown to the straps
- Gold buckle. Cream hair, bow.
- Sepia wash
 |
| Elven Spearmen |
- Flesh to skin. Silver armour and spearpoint
- Dark green cloak
- Bright green to the overgarment
- Gold clasps and helmet detail. Cream spear
- Sepia wash
 |
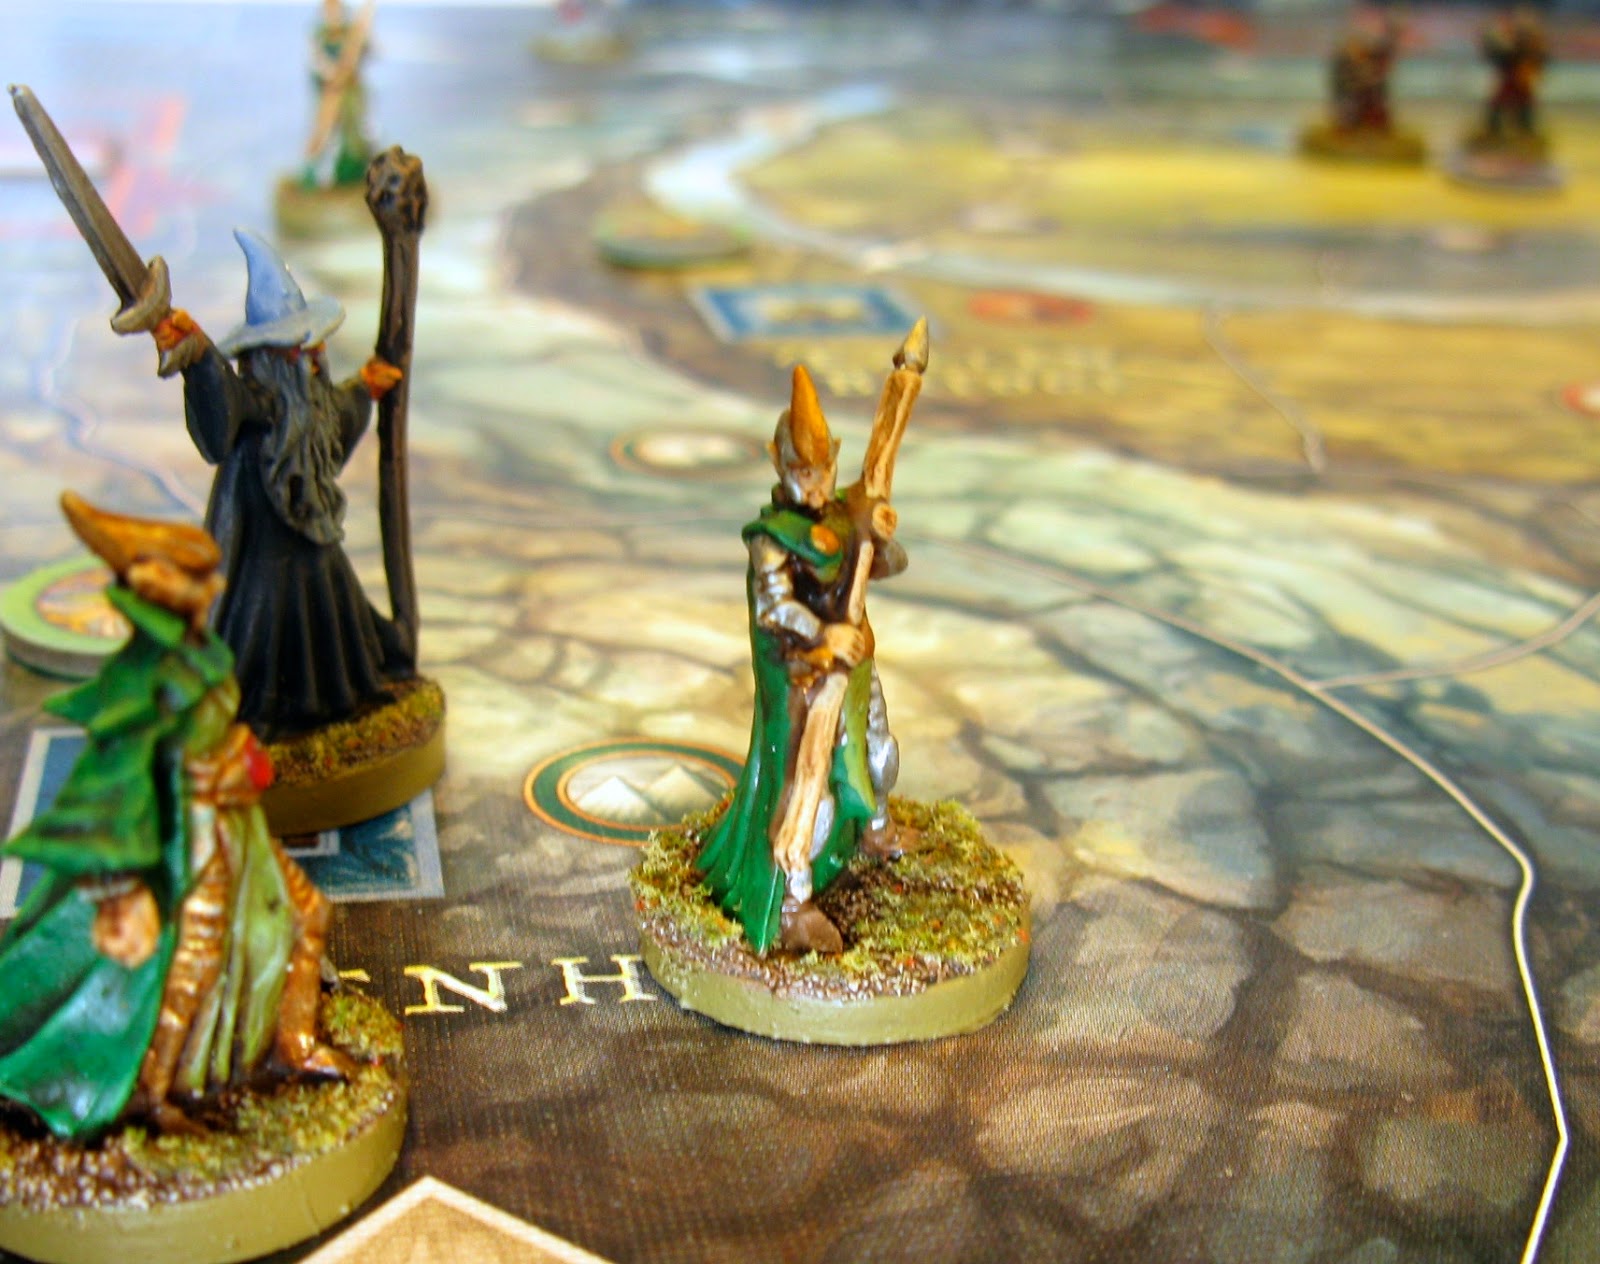
| Thranduil |
Thranduil was painted with the same greens. I painted his armour gold, then drybrushed it silver. I then painted the greens and washed the figure in sepia. Then I picked out the high points on the cloak and gown with lighter greens as highlights. I indulged myself with the gemstone.
Dwarves, Thorin, & Dáin
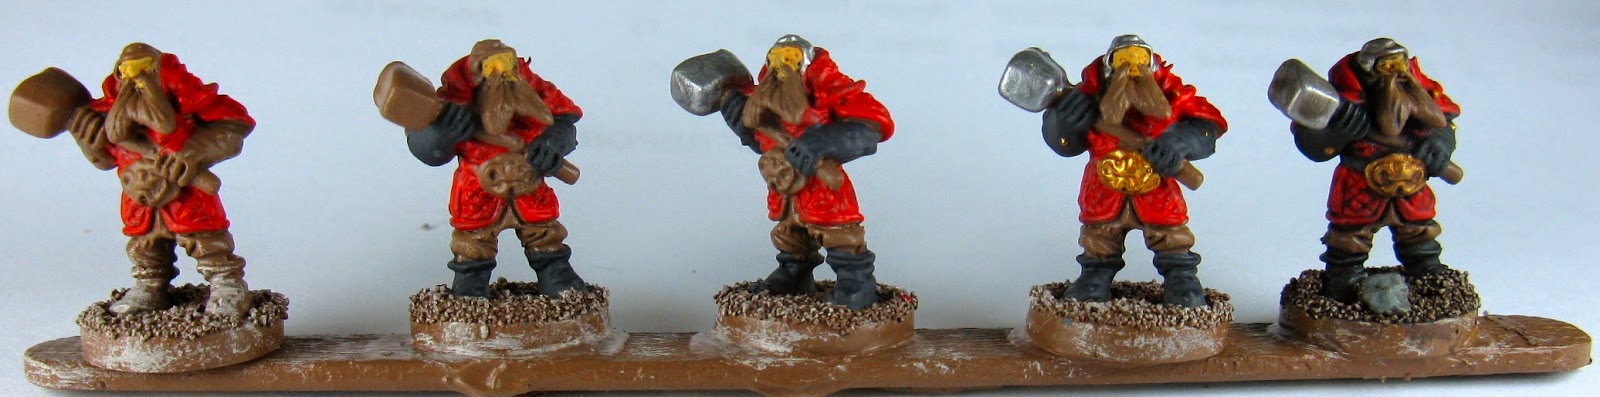 |
| Dwarf Regulars |
- Red to the jerkin
- Dark grey to boots, gloves, belt
- Metal to the hammer and helm
- Gold to the buckle and studs (gloves and jerkin)
- Black wash
 |
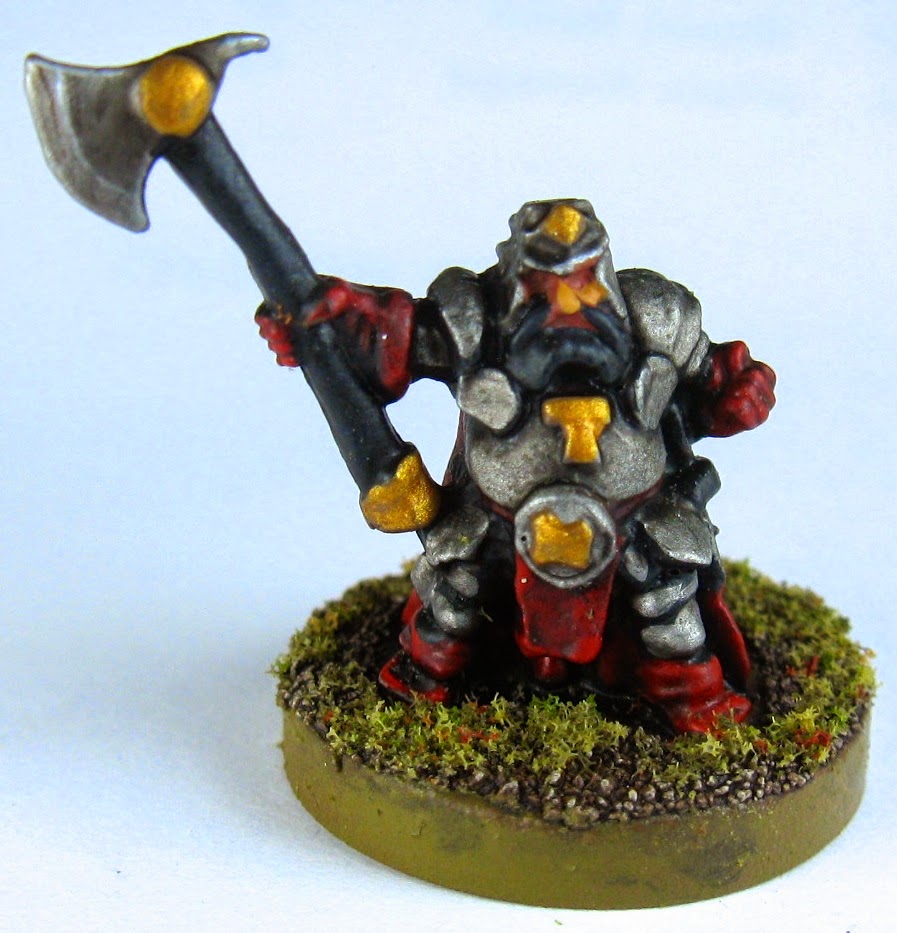
- Dwarf Veterans
|
- Grey rock. Metal to the mail, armour and axe
- Red to the gloves, boots, belt and scabbard
- Black wash
- Gold to the helmet and swordhilt, flesh to the nose
- Controlled sepia wash to the gold and nose (optional step)
 |
| Thorin |
 |
| Dáin |
Thorin and Dáin were painted with the same colours I used for the other dwarves. I spent a fraction more time on the skin. The weapon hafts and Thorin's beard are dark grey.
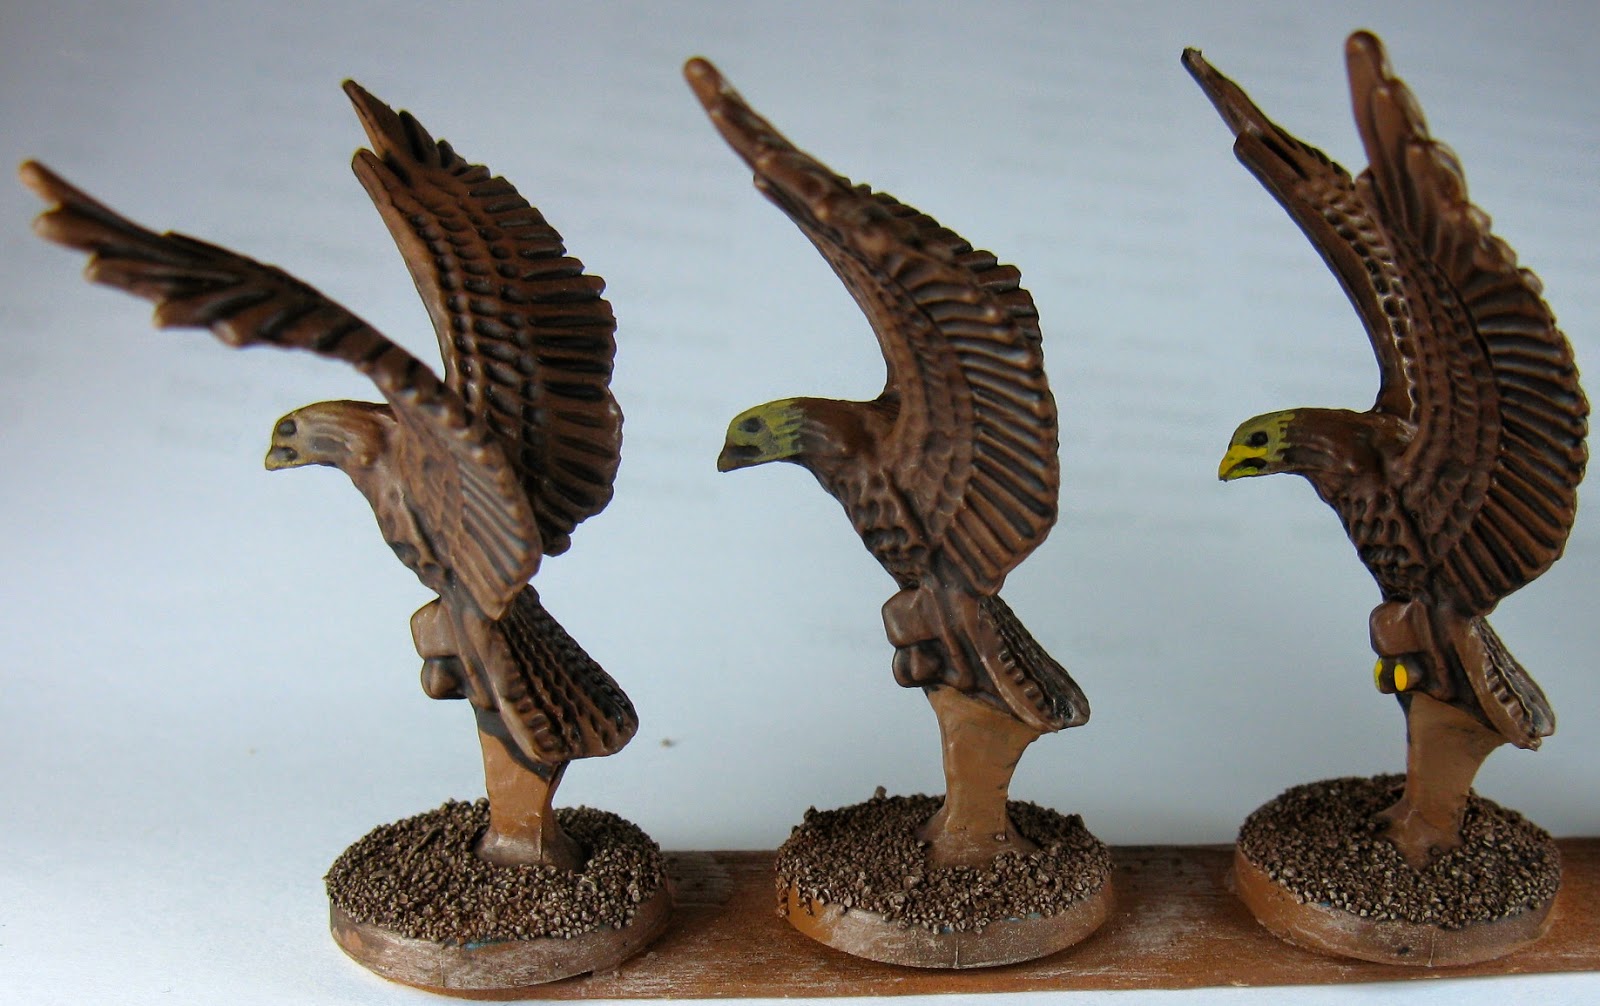
Great Eagles
- Umber wash
- Sandy colour to the face/ head
- Yellow to the beak, claws
 |
| The Lord of the Eagles |
I gave the Lord of the Eagles a black wash after the umber wash, and used cream rather than sand for his head. He stands out a little from his companions, but not much.
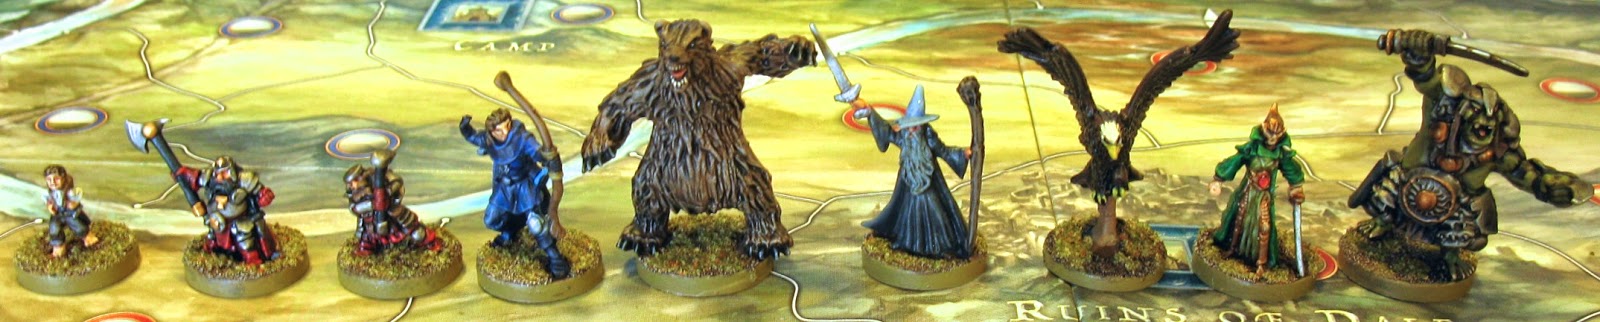
Gandalf, Beorn and Bilbo
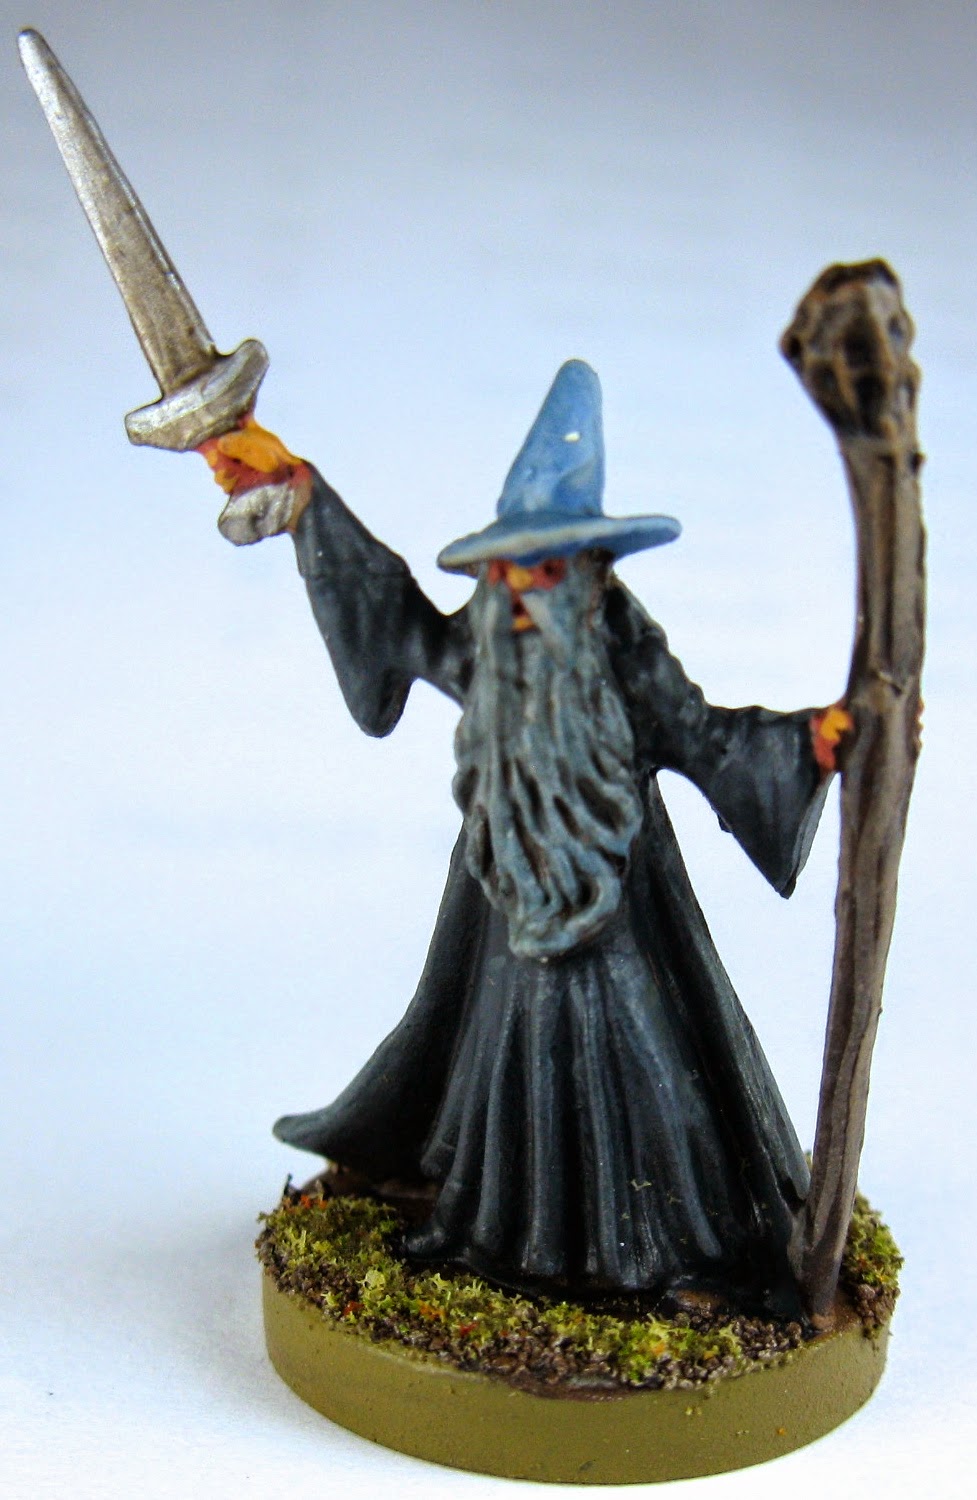 |
| Gandalf |
Gandalf was painted dark grey, had a black wash, and was then built back up with lighter greys to the ridges on his clothes. I painted his beard a light grey, gave it a thin black wash, and picked out a few bits in light grey again. The iconic hat was painted blue-grey and highlighted with a thin pale grey. I'm really happy with his sword, Glamdring. There's a subtle change from a dirty metal to shining silver.
 |
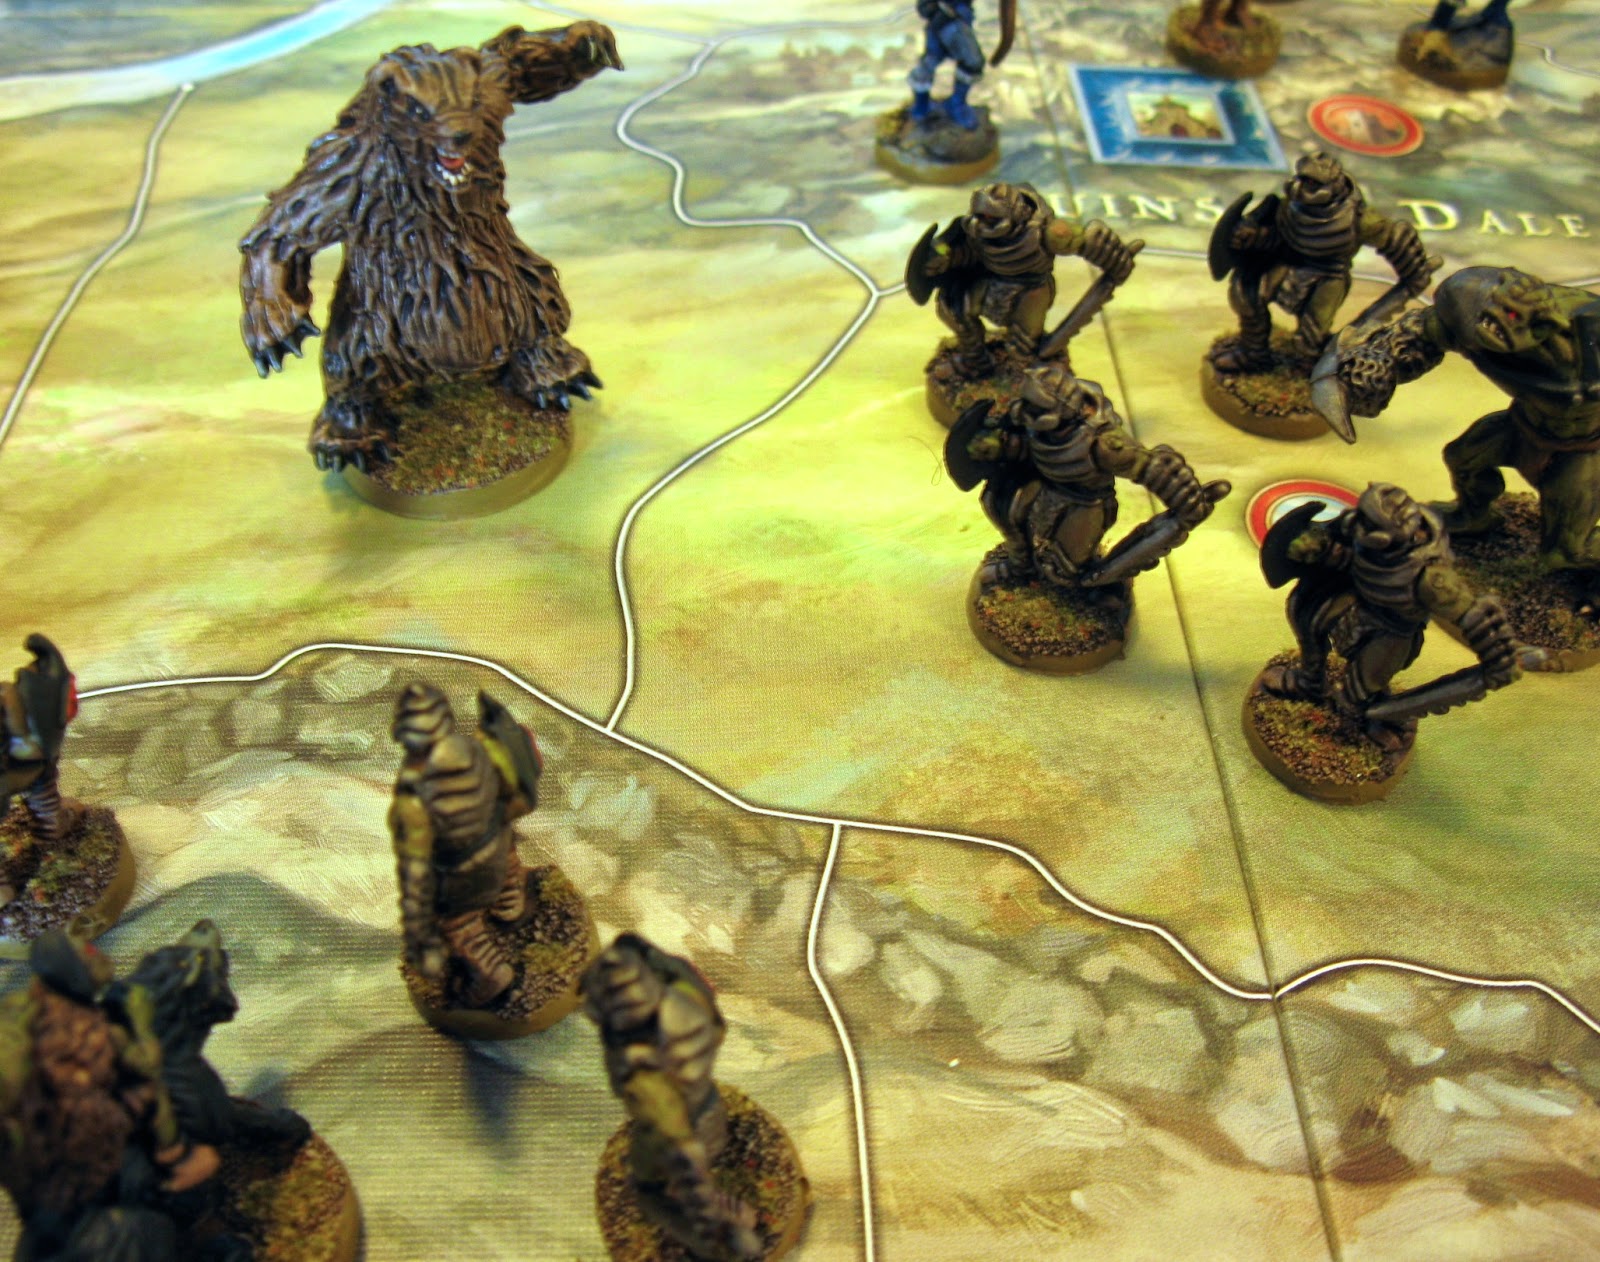
| Beorn |
Beorn was easy to paint. He was drybrushed all over in cream, then heavily washed in umber and black. I painted the claws black and gave them a thin light grey stripe. The eyes were painted black, with a teeny dot of white.
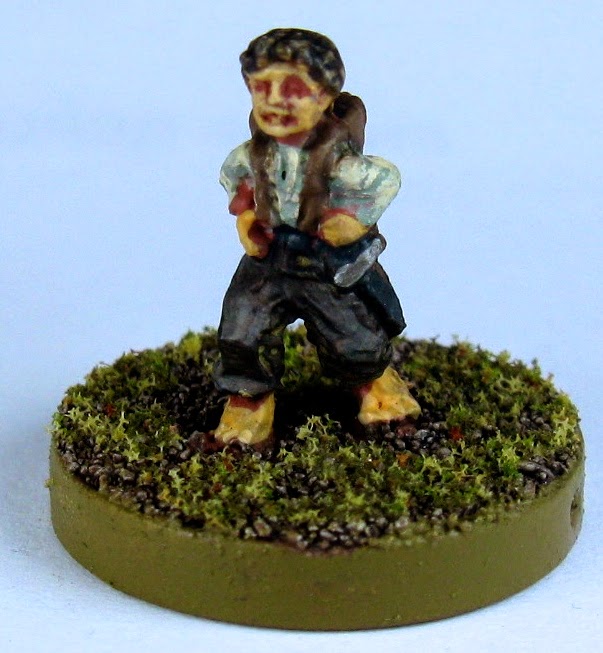 |
| Bilbo Baggins |
Bilbo was painted with dark brown trousers and a khaki shirt, highlighted with a mid-brown and cream respectively. His skin (like Gandalf, Bard, and the dwarf characters) was painted red-brown and then the raised areas picked out with flesh.
That's it! This project only took me a couple of dedicated (but intense) evenings.
Feedback and questions will be gladly answered.
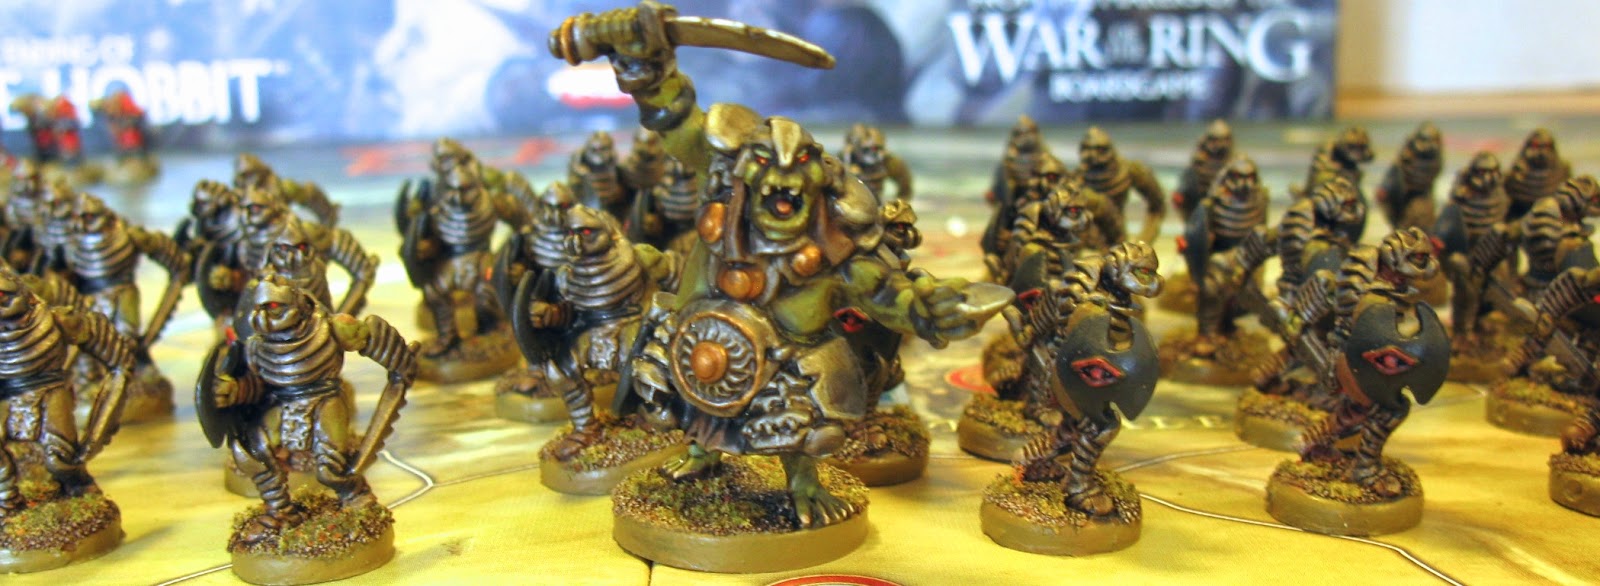
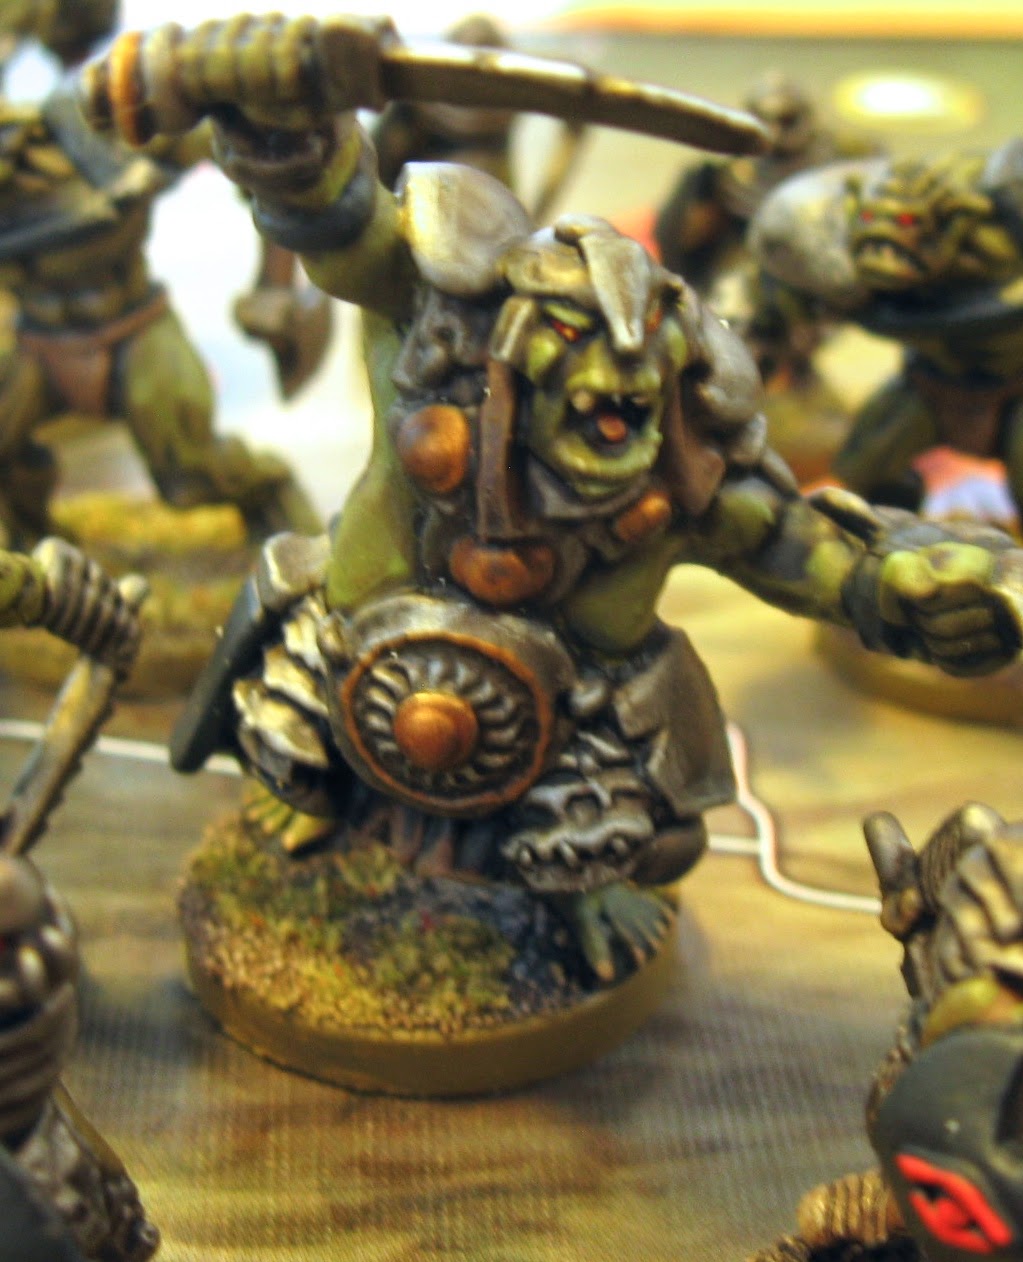
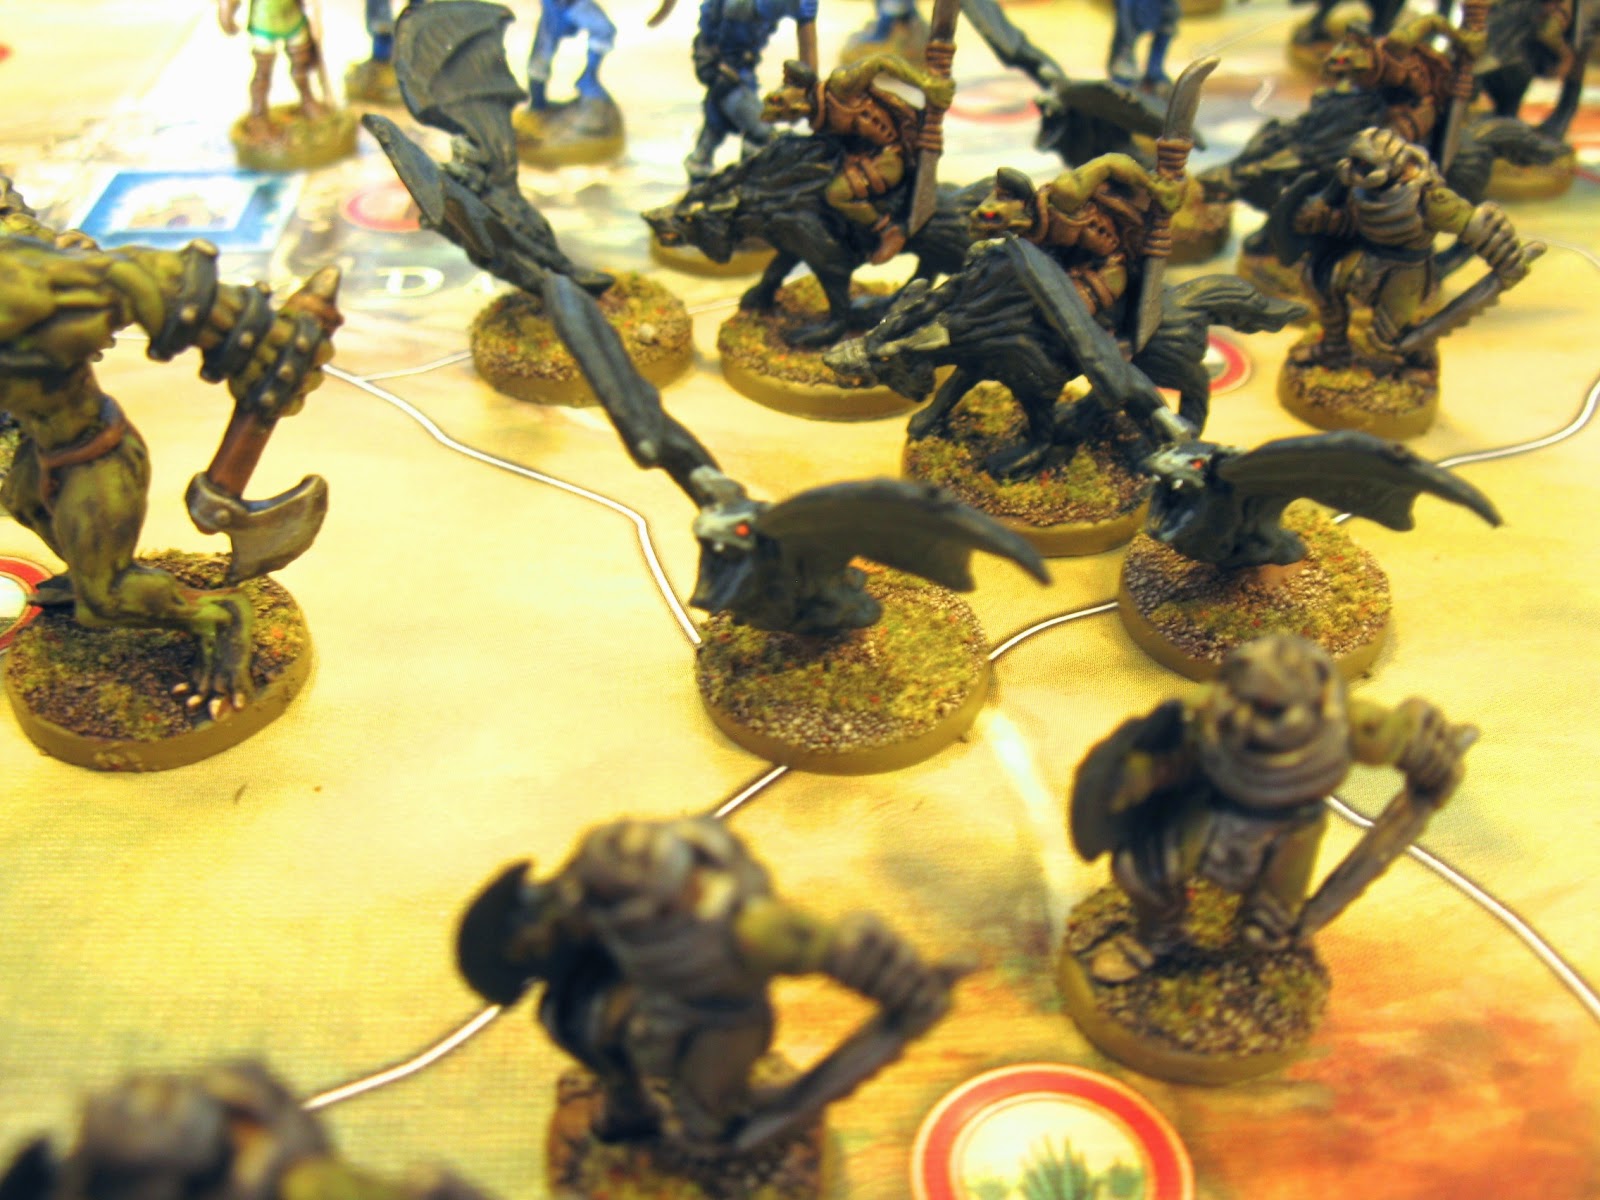
PS- can't help myself:
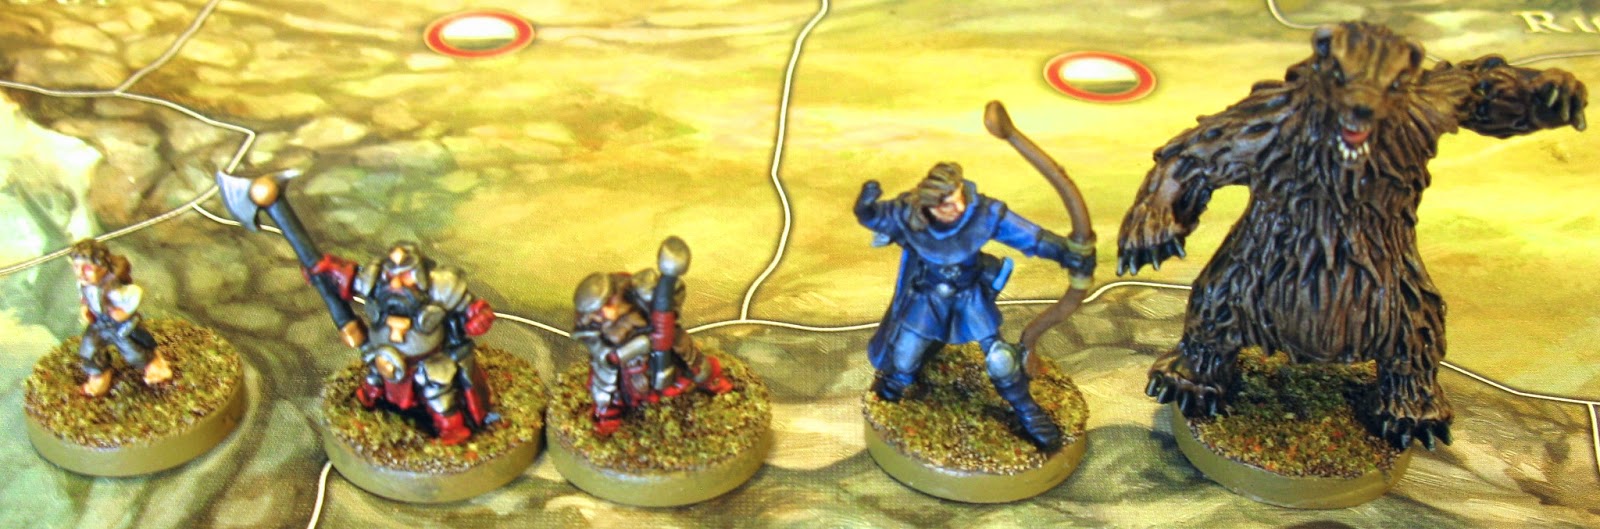 |
| A thief, two thugs, an assassin, and a maniac. Oooga chuga ooga chuga... |