
I played my Rorke's Drift game solo using Bayernkini's scenario for Battlecry. Here are my thoughts and tweaks.
Solo rules
I played the Rorke's Drift game the same fashion as the Isandlwana game, i.e. AI vs AI. Each AI side draws two cards and plays the best one. 'Fightback' was removed from the deck.
Variant 1: Play the British 'properly' against an AI Zulu side. The Zulus draw and activate two cards per turn (no unit may be activated twice). Zulu 'Fightback' gets held in hand, and played at the first available opportunity.
Variant 2: Play the British 'properly' against an AI Zulu side. The Zulus get +1D for every attack. Zulu 'Fightback' gets held in hand, and played at the first available opportunity.
Minor scenario changes
I made the following changes and clarifications to the scenario as given (none of which should alter the game or outcome):
- Change the eight adjacent hill hexes to woods
- Remove the Kraal and outbuilding
- Each hex in the redoubt gives -1D to attacks from any direction except from the other redoubt hex.
- In the reorganisation between waves, the British player may not merge or create new units, nor may he redistribute men between units (I think I broke this between Waves 2 and 3)
- In a two-player game (or solo variant where the British player plays against an AI Zulu), the British player may return any or all of his hand to the deck, and redraw to a full hand. The Zulu player must replace his entire hand.
Optional Character rules
These have not been playtested and I didn't use them in my game. I just thought it would be fun to add a few more characters with special abilities to the British side. Each character replaces one infantryman in one element, and has a special ability that may be used at the player's discretion, so long as the character is still alive.
- Colour-Sergeant Bourne: May ignore all retreats.
- Reverend Smith: May ignore one retreat.
- Acting Assistant Commissary Dalton: Once per game, this unit hits on Sabres in ranged combat.
- Private Hook: Hook can only be killed like a leader, i.e. if his unit is wiped out he will survive, and needs a second attack (with crossed sabres) to kill him.
- Leftenant Adendorff: Once per game, may force any Zulu unit to reroll any or all dice.
 |
| Bourne, Dalton, Adendorff |
 |
| James Dalton |
 |
| Dennis Folbige as Acting Assistant Commissary Dalton |
 |
| Gert van den Bergh as Leftenant Adendorff, Natal Native Contingent |
 |
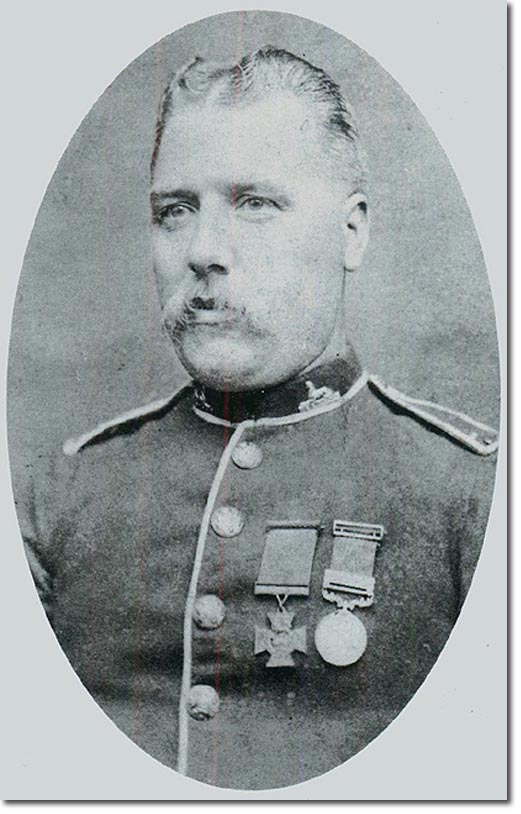
| Frank Bourne |
 |
| Nigel Green as Colour-Sergeant Bourne |
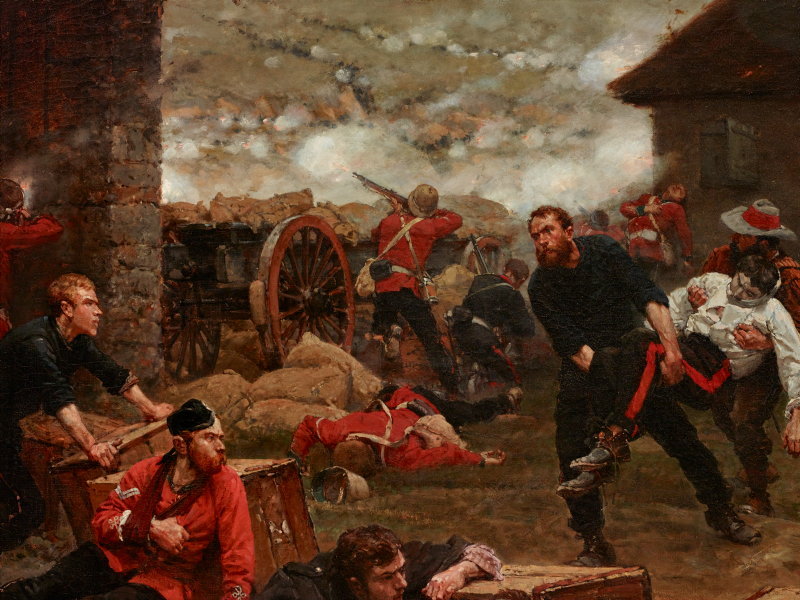 |
| Detail from de Neuville's painting |
 |
| Reverend George Smith |
 |
| James Booth as Private Hook |
 |
| Henry Hook |
Other optional scenario rules
These are also unplaytested, but add a bit of flavour:
Fire!
If the Zulus end up in control of both halves of a building, they may attempt to set it alight. To do this, they must make an attack from inside the building against which they are attacking, hitting it as if it were artillery (including crossed sabres). It has three 'wounds', which can be represented with fire markers. Three wounds on each segment will destroy the building (cannot be subsequently entered). This prevents the British from recovering lost soldiers. Before it has been destroyed, British troops may attempt to save the building by entering it and fighting the fire- roll as if it were artillery, each hit (including crossed sabres) removes a fire counter. The British also get one attempt per building segment on fire during the between-wave intervals.
 |
| Litko smoke and flame markers |
Build the redoubt.
The redoubt is only available for the third wave (leave it off the board for the first two waves), but reduces attacks by 2D.
Final installment: Building Rorke's Drift
No comments:
Post a Comment