For the last 18 months I've found myself painting Lamenters. I often get asked about my yellow technique, so I made a little tutorial.
 |
| Phobos Infiltrators |
Preparation
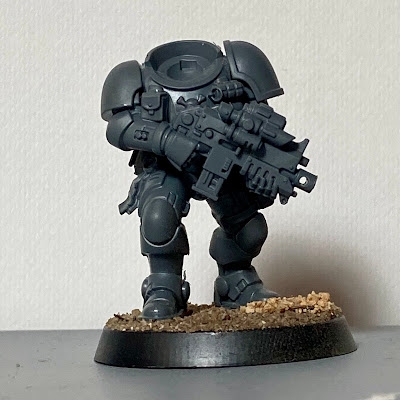
i. Remove moldlines and assemble. I glue sand etc. to the base now. I prepare and paint the backpack and head separately.
ii. Undercoat Vallejo Bonewhite rattlecan.
iii. Paint the base.
iv. Drybrush white. I've found this subtle slapchop works well for me.
Okay, here's the real meat.
1. Contrast Ironjawz Yellow
2. SMS Umber Wash. This is an oil-based product by an Australian model paint company. I work it into all the creases...
3. ... then I clean it up with Artists White Spirit and a makeup sponge. I get rid of the worst excesses (e.g. back of the hand, shoulder pad) but it doesn't have to be pristine. That's it! Your yellow is done. No highlighting required.
4. Paint the rest of the Lamenter. The left pauldron (chequered) is hand-painted (previous tutorial); the tactical symbol on the right is a decal.
I appreciate an Australian oil wash paint is a bit niche, but I'm sure a similar product exists elsewhere. The point is that I've found a reproducible way for me to get masses of yellow done without losing my mind with edge-highlighting. I've seen nice things done with pink pre-shading, but I'm committed to this technique now. It doesn't have to be too neat; the rest of the details hide major flaws in the yellow. These figures won't win individual prizes but they're done.


Yellow is a hard color to do well, which is the great effect you have here. Nice job in the how to portion. On to the games!
ReplyDeleteOn to the games!
DeleteGood to know, yellow is always a pain, thanks for sharing!
ReplyDeleteIt's better now with Speedpaints/ Contrast than it was.
Delete